Showing posts with label Jewelry. Show all posts

February 11, 2014

Ribbon Wrapped Bead Headbands Tutorial

Turn boring plastic headbands into gorgeous ribbon wrapped beaded headbands in no time!  Using materials I purchased at the Dollar Store I was able to make expensive looking boutique style headbands.  Please follow my tutorial below to learn how to make them.  For more information about using Mardi Gras beads and ribbon, in crafts, view my beaded Mardi Gras bangles bracelets.


I purchased at the Dollar Store some Mardi Gras beads, some thin headbands, a long candle lighter, and thin width sheer ribbon.


Next, to make the headbands I knotted the ribbon around the third bead.


Heat seal the end of the ribbon and place it under the headband and press it against the back.  When you heat seal sheer ribbon it melts and is sticky.  Wrap the ribbon down to the end of the bead and then back up all around the headband.


Continue wrapping the ribbon all the way to the other side and then back again to where you started - at the original knot.  Heat seal the ribbon and press it against the other ribbons to hold it all in place.  Use the lighter to trim away the string at the very end of the first beads, as well.  Use extra caution always when using the lighter.


Your ribbon and bead headband is complete!


Follow the instructions to make several!

February 10, 2014

Beaded Mardi Gras Bangle Bracelets

I am so excited to share the beaded Mardi Gras Bangle Bracelets that I made.


I was on Pinterest the other day and found a video tutorial by Mark Montano on how to make your very own ribbon wrapped bangle bracelets.  I was overwhelmed with the sheer genius of his video tutorial.  He suggested using zip ties as the base of the bangle bracelet.  GENIUS!

I have embed the video tutorial for you to view for yourself.  After you have watched the video check out my tutorial below I made just a few changes.


To make my own Mardi Gras Bangle Bracelets I just made a few modifications.

  • Instead of using clear plastic tape I used a black duct tape.  
  • Instead of fray check I used a lighter to seal my ribbon on both ends.  
  • I hot glued the two end beads together so that there would be a place for the ribbon to overlap.  
  • Lastly, my final ribbon seal I melted the ribbon end and pressed it against the other ribbon to hold it all in place.  
  • Also, be careful to check the beads. I started to make a bracelet only to realize half way through two of the beads were glued together with no spaces.


May 29, 2013

Beaded Stretchy Headband Tutorial

If is funny how craft projects and craft interests just evolve.  A fellow crafter showed me her beautiful bracelets that she made using a technique called tubular crochet beading!  I instantly fell in love with her work and bought several of her bracelets.

But the crafter in me wants to make my own.  I have watched youtube videos and found some online tutorials but I am no where near close to having anything that looks like a bracelet.  However, I did buy several small crochet hooks, seed beeds, and beading thread and spent hours working on it. 

The other day, I stopped beading and worked on a tutorial for the Bowdabra Blog.  I made a personalized infant onesie and crocheted headband with bow.  You can find the tutorial here.  While making the crocheted headband I came across a really simple crocheting pattern at Mom of 5 Daughters.

I used the crocheting pattern as my inspiration for making a beaded stretchy headband.  I still haven't mastered the tubular crochet beading but I got to use one of my new hooks, some small beads, and crochet my own design.  I am calling that crafty progress!


To make the headband you will need the following supplies:


Instructions:
1. After gathering my supplies I strung approximately 100 beads onto the cording.
2. Then I made a slip knot at the end of the cording and chained 9.
3. I doubled crocheted in the 5th chain from the beginning, then I chained 1 adding a bead.
4. I doubled crocheted in the 3rd chain from the beginning, then chained 1 adding a bead.
5. Then I doubled in the last chain.
6. Next, I chained three, turned it, then double crocheted in the first stitch.  (The double crochet will be right above your first bead.)  Then chained 1 added a bead, double crocheted, chained 1 added a bead, double crocheted, then chain 3 and turned.  I continued this pattern adding two beads to each row.
7. When the headband measured 18" long (loosely stretched) I crocheted the ends together.  18" long is the perfect size for me as an adult. 


-->

March 5, 2013

Seed Bead Earrings

I just made my first pair of seed bead earrings. I am a new subscriber to Bead Style Magazine and Bead & Button Magazine and I was inspired by all the seed bead jewelry I saw - and decided to make my own. I used a combination of seed beads and jump rings.


If you are looking for inspiration and project ideas I highly recommend both Bead Style and Bead & Button magazines!  

From March 4 to March 11, 2013 Bead & Button is having unlimited website access - where you can download their tutorials as a non-member.  Absolutely, worth checking out! 


-->

January 28, 2013

Recycle Puzzle Pieces into Necklaces

Recycle little puzzle pieces into fun necklaces for Valentine's Day or Best Friend Forever (BFF) necklace charms.

January 29, 2013 is National Puzzle Day (who knew), and in honor of the day, my daughter and I made these cute puzzle necklaces, this weekend.


My daughter loved painting the puzzle pieces and then finished hers with rhinestones.  Little girls love rhinestones!

I was inspired to make this puzzle craft from some tutorials I found -
Puzzle Necklaces by Craft Tuts+ 


Best Friend Puzzle Necklace


-->

March 1, 2012

Dollar Store Fashion Necklaces

Fashion on a budget is how I roll!   I am frugal by nature and jewelry is something I have a hard time buying - especially because every time I look at something I think I can make that.

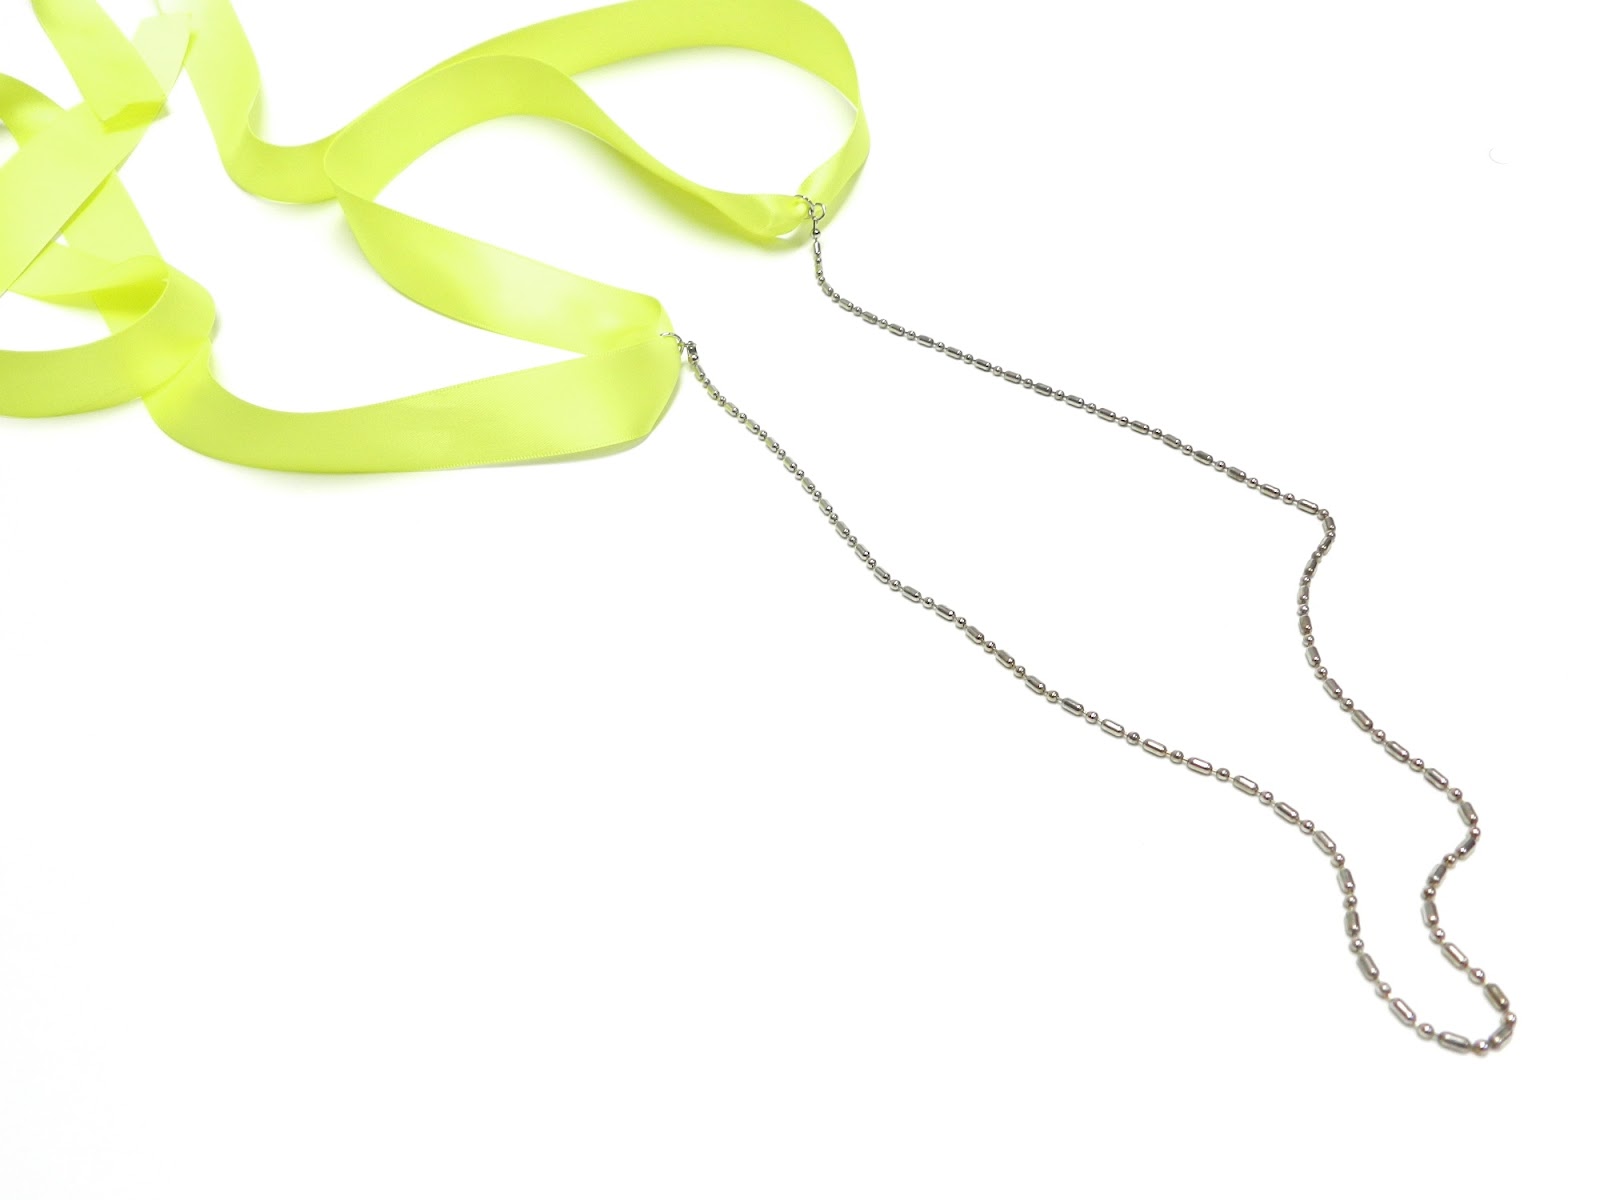
Recently I have seen lots of chain necklaces with ribbon embellishments and I wanted to recreate that style but on a budget.   Here are my two ribbon and chain fashion necklaces made for $2.00 each with ribbon left over (for other projects).


How did I make the necklaces?  Yesterday my daughter and I visited our local Dollar Store.  I was on the hunt for some fashion necklaces that I could glam-up with ribbon.  To my shock my local Dollar Store did not carry any necklaces!  WHAT??   However, they had a huge display of magnifying glasses and next to the glasses were several styles of eyeglass cords!  There were several different styles to choose from.  I also found coordinating Dollar Store satin ribbon.

Instructions:

1. To make these necklaces you will need an eyeglass cord, ribbon, and 2 jump rings (for each necklace).


2. Remove the little black rubber rings from the ends of the eyeglass cords.  Attach a large jump ring to each end.


3. Thread ribbon through each jump ring.


4. Bring one end back over to the other jump ring and then through the other side.  This will allow you to tie a bow easily.


5. Tie bow on the side and necklace is complete.  Rather have the bow in the back?  Remove the ribbon from the side and tie in the back.  So versatile!  Change the look by adding a pendant, as well.


6. For the other fashion necklace I removed the black rubber rings, add jump rings, and tied a bow in the front.


7. Trendy fashionable necklaces on a Dollar Store budget.  Enjoy!


I am participating in Bowdabra's Many Uses of Ribbon National Craft Month Party.  Go check it out lots of fun and great giveaways all month long!

Bowdabra Giveaway 

Pin It

Email Updates Daily by Feedburner

Enter your email address:

Delivered by FeedBurner