Showing posts with label Boutique. Show all posts

February 10, 2014

Beaded Mardi Gras Bangle Bracelets

I am so excited to share the beaded Mardi Gras Bangle Bracelets that I made.


I was on Pinterest the other day and found a video tutorial by Mark Montano on how to make your very own ribbon wrapped bangle bracelets.  I was overwhelmed with the sheer genius of his video tutorial.  He suggested using zip ties as the base of the bangle bracelet.  GENIUS!

I have embed the video tutorial for you to view for yourself.  After you have watched the video check out my tutorial below I made just a few changes.


To make my own Mardi Gras Bangle Bracelets I just made a few modifications.

  • Instead of using clear plastic tape I used a black duct tape.  
  • Instead of fray check I used a lighter to seal my ribbon on both ends.  
  • I hot glued the two end beads together so that there would be a place for the ribbon to overlap.  
  • Lastly, my final ribbon seal I melted the ribbon end and pressed it against the other ribbon to hold it all in place.  
  • Also, be careful to check the beads. I started to make a bracelet only to realize half way through two of the beads were glued together with no spaces.


July 16, 2013

Recycled T-Shirt Messenger Bag

Sew a messenger bag using a recycled t-shirt!  This style messenger bag is really easy to make.  My daughter was really excited to recycle her dad's Army t-shirt into soft messenger bag that she could use to hold her books and journal.


I used a quilting mat and rotary cutter to cut the front, back, 2 sides, and one bottom piece.   Using a sewing machine my daughter sewed the sides to the front and back and then the bottom piece.


To finish the messenger bag we added a ribbon hem around the top edge and a ribbon strap.


Check back tomorrow when I share how I recycled one of the t-shirt arm sleeves into a doggie vest.


-->

January 11, 2013

Wool and Mohair Yarn Flowers Headband Hair Accessory

Lamb's Pride worsted wool and mohair yarn by Brown Sheep Company has an amazing texture for knitting, crocheting, and felting.  I originally bought the yarn for crocheting wool mittens but I haven't had a chance yet to make them.  I decided to use a little bit of the yarn to make beautiful wool and mohair flowers for a headband.  I love the look of the headband and it is the perfect winter hair accessory!

 
Materials Needed:
Headband
Lamb's Pride Worsted Yarn
Button
Yarn Needle

Instructions:
1. To make the yarn flowers for the headband I used Lamb's Pride worsted wool/mohair yarn.


2. To make the flowers follow the flower pattern at the Bowdabra Blog.  The pattern I designed for Bowdabra, uses lace, but it will work with this yarn, as well.  Make two flowers using the color indigo and one flower using twilight green.


3. Attach the two indigo flowers to side of the headband.  Use a yarn needle to attach the flowers to the headband.  Trim away excess yarn.


4. Attach the middle twilight green flower to the headband.  Use a button center to hold it in place.


5. Your embellished headband with wool and mohair flower hair accessories is complete.


November 13, 2012

Pointed Petal Fabric Flower Tutorial

Follow my DIY tutorial to make a large pointed petal fabric flower.   I chose red fabric specifically to make a Christmas style fabric bow, but any color fabric would be fun.

I have been working with bias tape to make small fabric flowers with pointed petals and small fabric flowers with round petals.

To make this fabric flower I chose double fold quilt binding.  The quilt binding is just like bias tape except it is wider. 


Materials Needed:  (Flower is 3.5" wide)
  • approx. 1.5yds Double Fold Quilt Binding
  • Coordinating Thread
  • Large Button, Gem, Bottle Cap
  • Hot Glue
Instructions:

1. Begin by folding the quilt binding down to form a triangle.  Tuck the cut/frayed end into the triangle and whip-stitched closed.


2. Fold the quilt binding to form another triangle on the left.  Keep the binding close but not overlapping.


3. Fold the triangle in and knot at the left.


4. Fold the material to form another triangle on the right.


5. Fold the right side in to the left. Knot the point in place.  You just made your first full pointed petal.


6. Fold the material to form a triangle at the bottom.


7. Fold the material up and knot in place.


8. Fold the material to form a triangle on the right.


9. Fold the material in and knot to make your second full pointed petal.


10. Follow the instructions 6 - 9 to continue to make petals.


11. Make a total of 20 full petals.  Finish the end petal just as the first, form a triangle fold in the frayed end and whip-stitch in place.


12. Sew the beginning petal and the ending petal together to form the final 21st petal.


13. Cover the large flower opening with a button, gem, or bottle cap.  Hot glue it in place.


14. Attach the large fabric flower to a hair clip, headband, use as a brooch, or decorate a gift with the large pointed petal fabric flower. 


-->

March 1, 2012

Dollar Store Fashion Necklaces

Fashion on a budget is how I roll!   I am frugal by nature and jewelry is something I have a hard time buying - especially because every time I look at something I think I can make that.

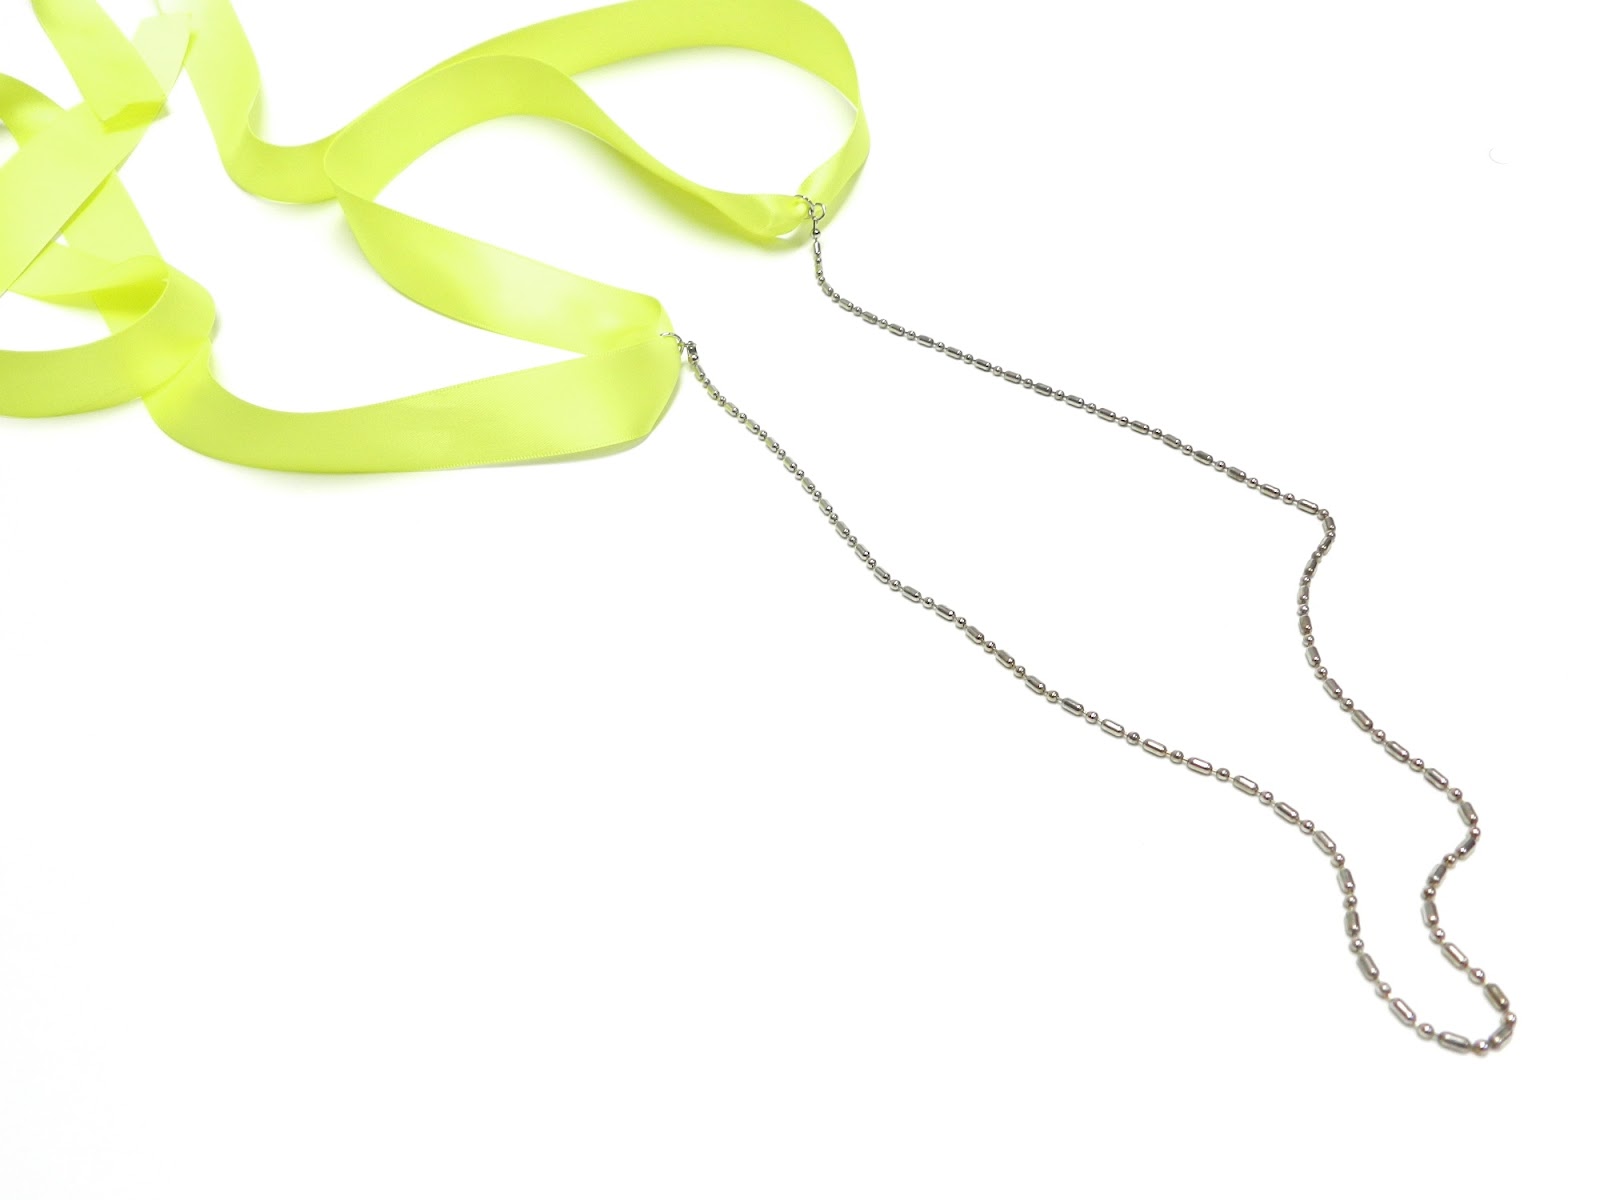
Recently I have seen lots of chain necklaces with ribbon embellishments and I wanted to recreate that style but on a budget.   Here are my two ribbon and chain fashion necklaces made for $2.00 each with ribbon left over (for other projects).


How did I make the necklaces?  Yesterday my daughter and I visited our local Dollar Store.  I was on the hunt for some fashion necklaces that I could glam-up with ribbon.  To my shock my local Dollar Store did not carry any necklaces!  WHAT??   However, they had a huge display of magnifying glasses and next to the glasses were several styles of eyeglass cords!  There were several different styles to choose from.  I also found coordinating Dollar Store satin ribbon.

Instructions:

1. To make these necklaces you will need an eyeglass cord, ribbon, and 2 jump rings (for each necklace).


2. Remove the little black rubber rings from the ends of the eyeglass cords.  Attach a large jump ring to each end.


3. Thread ribbon through each jump ring.


4. Bring one end back over to the other jump ring and then through the other side.  This will allow you to tie a bow easily.


5. Tie bow on the side and necklace is complete.  Rather have the bow in the back?  Remove the ribbon from the side and tie in the back.  So versatile!  Change the look by adding a pendant, as well.


6. For the other fashion necklace I removed the black rubber rings, add jump rings, and tied a bow in the front.


7. Trendy fashionable necklaces on a Dollar Store budget.  Enjoy!


I am participating in Bowdabra's Many Uses of Ribbon National Craft Month Party.  Go check it out lots of fun and great giveaways all month long!

Bowdabra Giveaway 

Pin It

August 15, 2011

Crepe Paper Roses Tutorial

During my weekly trip to the Dollar Store I found purple crepe paper - The exact color of my soon-to-be sister-in-law's accent color for her wedding.  She chose a very deep purple official name: Lapis.

I have searched and collected Lapis silk flowers, Lapis ribbon, Lapis crafting gems...but Lapis crepe paper - SCORE!  I bought every package of purple (Lapis) crepe paper at the Dollar Store!   Below is two of 10 rolls I bought.


I have been assigned the designing and making the table centerpieces.  I have almost everything I need to make them but I needed filler!  You know something not that expensive that I can mass-produce in the hundreds!!

At home with piles of purple crepe paper streamers around me I began making crepe paper roses.  After I finished a few I  decided to do a quick google search to see if any other crafters had made crepe paper roses.  Yep, so many crafting people out there I was not the first to make crepe paper roses, from crepe paper purchased at the Dollar Store, no less!!  Filth Wizardry used crepe paper to make small ribbon roses for her children's class for Valentine's Day.  She even shows a video of how she made them!! The video is so cute with her children talking in the background!  Entertaining and informative.

.....The only thing I did differently when I made my roses is I didn't fold the crepe paper in half but used the full size so my roses are bigger.  Like Filth Wizardry I didn't use a glue gun.  The crepe paper is sticky and holds together very well!

Materials Needed:
Crepe Paper
Floral Stems
Floral Leaves
Floral Tape

Instructions:

1. Create a 6" to 7" tail by folding the crepe paper down at an angle.


2. Start to roll the crepe paper in to create the inside of the rose.


3. To create the rose petals fold the crepe paper slightly and bring the edge to the center and pinch.


4. Continue folding and turning your rose until you are happy with it.  Tear the crepe paper from the spool and twist it around the bottom.


5. Add floral leaves by wrapping the wire around the rose's crepe paper stem.  Add a floral stem and cover everything with floral tape.


6. Create as many crepe paper roses as you would like.  In my case only 97 more to go!


August 3, 2011

Princess Birthday Party

A princess style birthday party fit for a PRINCESS!  I like birthday parties with themes.  The theme is usually whatever my child is "into" a the time.  I always ask my kids to pick whatever theme they want for their birthday and then I go from there. 

Though the Bob the Builder theme several years ago might go down in history as my all time favorite.  Something about seeing everyone in bright yellow hard hats still makes me chuckle!  The princess theme was by far the easiest for me to pull off.  I asked all the little girls to arrive in their favorite princess costume and then I decorated our sunroom in true princess style.

Every princess needs a grand entrance.


I bought little Disney princess chairs and lowered my folding table to small princess height.


I added princess window clings to the sunroom windows. 


I made little wands for each princess.  I used tulle, ribbon strands, and my Bowdabra.


And, of course, whats a princess without some jewelry and bling!


To make some more homemade princess decorations visit my tutorials at the Bowdabra Blog.

Clothespin Fairies - Design little fairies with tulle tutus and ribbon wings.  Children can make them at the party and then bring them home as party favors.


Ribbon Rings - Create beautiful and customized ribbon rings using Bobbin Ribbon and Perler Beads.

Email Updates Daily by Feedburner

Enter your email address:

Delivered by FeedBurner