Showing posts with label crochet. Show all posts

June 3, 2013

Sorry Ladies, My Daddy is Taken SEI Iron-On Art

SEI Crafts has a huge selection of scrapbooking products, tie-dye, and iron-on art. 

With Father's Day fast approaching I thought the sentiment "sorry ladies, my DADDY is TAKEN!" would be perfect for a onesie.  I also made a matching infant headband with crocheted flowers.  To learn how to make the flowers visit my tutorial: 6 Petal Crochet Flower Tutorial.


This style iron-on is different from any that I have ever made.  Previous ones, I have used you iron and then slowly peeled away the label.  You are left with a film on the entire design. 

This iron-on the letters are perforated and you slowly peel and remove the letters from the label.  It takes a little to pull them from the label and the entire time I was worried that not all the letters would come off.  However, each letter along with the dots for the "i's" and the comma did peel off.  I would absolutely use this type of iron-on art, again.  The letters are raised, have texture, and look professionally done.

You can find this iron-on on Amazon.com (click the picture below for more details).


There are so many different possibilities with s.e.i iron-ons!

June 1, 2013

6 Petal Crochet Flower Tutorial

Crochet a 6 petal flower to place onto barrettes, headbands, and clothing.  I made several six petal flowers and added them to an infant crocheted headband.  This easy to follow tutorial will have you crocheting flowers all day!  They are so much fun to make!


The flowers are very simple to crochet, you can experiment with different yarn types and crochet hooks.  To make these flowers I used vibrant colored yarns and a size "f" hook.


To crochet the flowers make a 4 chain and join it together in the first stitch with a single stitch to make a ring.

Single chain six stitches in the ring.

To make the first petal single stitch in the first stitch, chain three, double crochet, chain three, and single stitch again in that same stitch. Your first petal is complete.

Repeat to make a total of six petals.   Then fasten off.


-->

May 29, 2013

Beaded Stretchy Headband Tutorial

If is funny how craft projects and craft interests just evolve.  A fellow crafter showed me her beautiful bracelets that she made using a technique called tubular crochet beading!  I instantly fell in love with her work and bought several of her bracelets.

But the crafter in me wants to make my own.  I have watched youtube videos and found some online tutorials but I am no where near close to having anything that looks like a bracelet.  However, I did buy several small crochet hooks, seed beeds, and beading thread and spent hours working on it. 

The other day, I stopped beading and worked on a tutorial for the Bowdabra Blog.  I made a personalized infant onesie and crocheted headband with bow.  You can find the tutorial here.  While making the crocheted headband I came across a really simple crocheting pattern at Mom of 5 Daughters.

I used the crocheting pattern as my inspiration for making a beaded stretchy headband.  I still haven't mastered the tubular crochet beading but I got to use one of my new hooks, some small beads, and crochet my own design.  I am calling that crafty progress!


To make the headband you will need the following supplies:


Instructions:
1. After gathering my supplies I strung approximately 100 beads onto the cording.
2. Then I made a slip knot at the end of the cording and chained 9.
3. I doubled crocheted in the 5th chain from the beginning, then I chained 1 adding a bead.
4. I doubled crocheted in the 3rd chain from the beginning, then chained 1 adding a bead.
5. Then I doubled in the last chain.
6. Next, I chained three, turned it, then double crocheted in the first stitch.  (The double crochet will be right above your first bead.)  Then chained 1 added a bead, double crocheted, chained 1 added a bead, double crocheted, then chain 3 and turned.  I continued this pattern adding two beads to each row.
7. When the headband measured 18" long (loosely stretched) I crocheted the ends together.  18" long is the perfect size for me as an adult. 


-->

May 20, 2013

Easy to Crochet Infant Booties

This weekend, I was on the hunt for a crochet pattern to make infant booties.  I have several books with infant clothing patterns but each time I have tried to make booties, I have failed.  I decided that I was best try a really easy pattern and work my way up.


I found a pattern that looked easy at AllCrafts.

The pattern is geared for newborn to 3 months.  I increased the overall stitching and made the booties larger for a 6 month old.

I brought the yarn and a copy of the pattern to my son's baseball game. I was able to finish the booties in the 2hrs it took for the game.  After making these booties I feel like I have the confidence now to try some of the more complex baby bootie patterns.


-->

January 10, 2013

Book Review Crocheted Baby Clothes

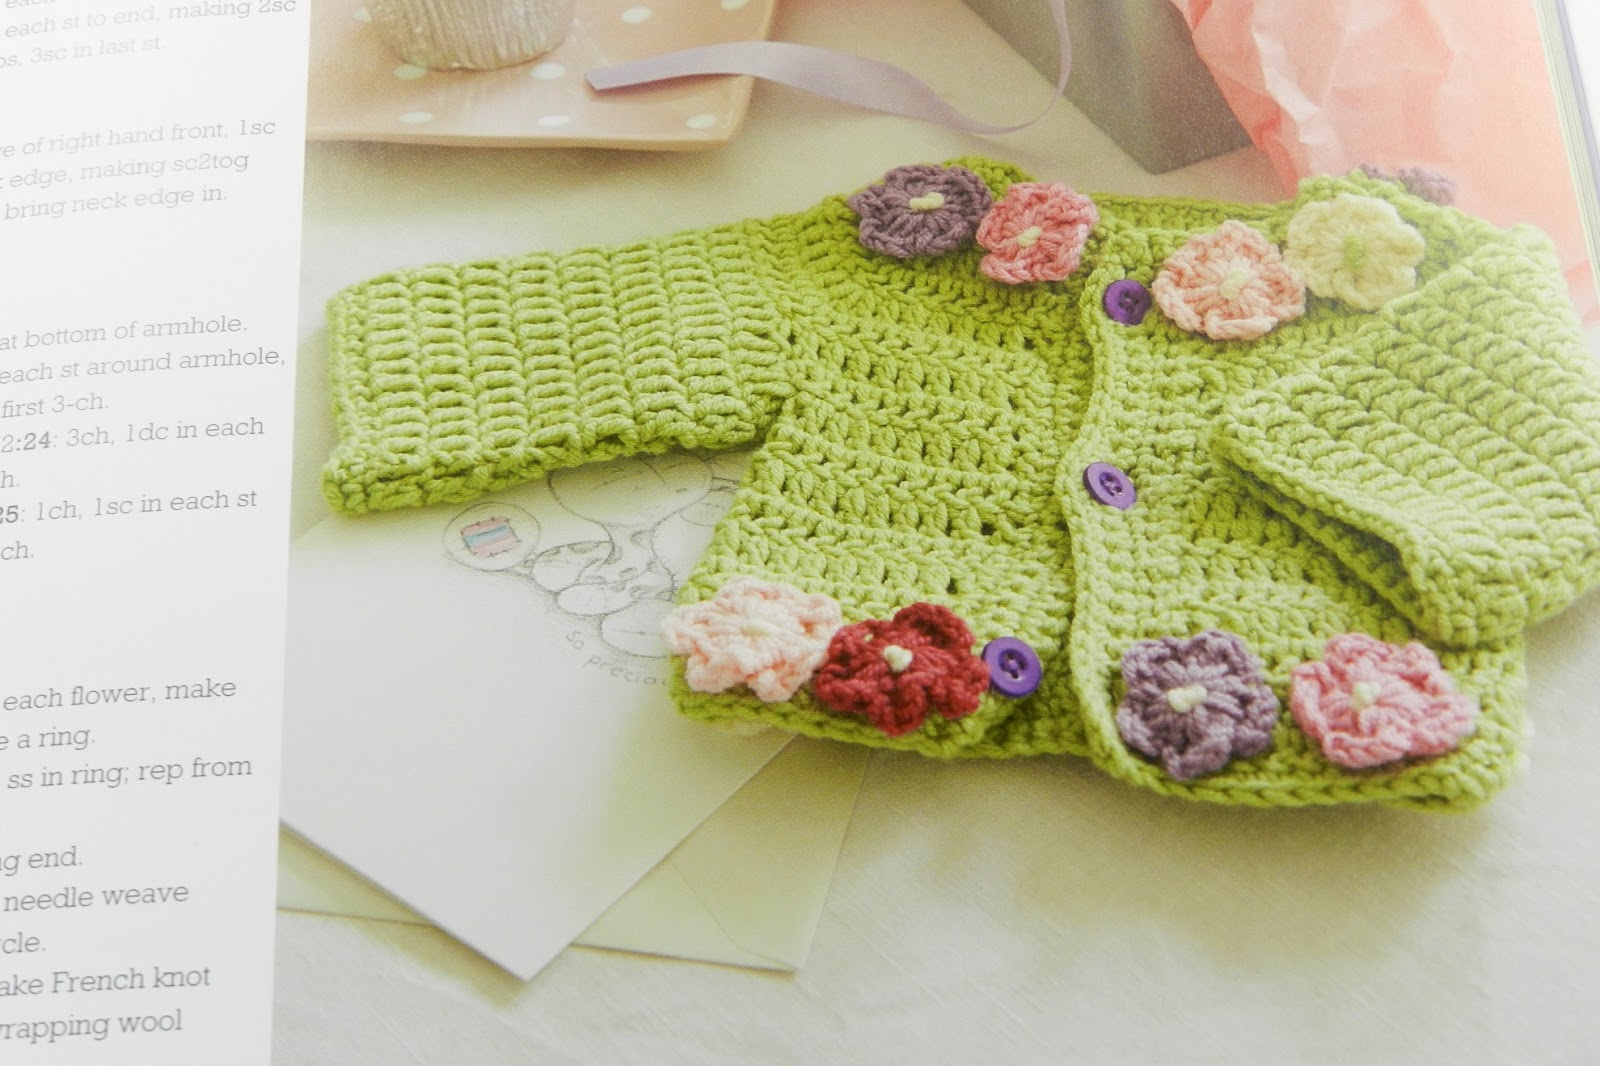
My love for crocheting has grown leaps and bounds since I learned how to read crochet patterns.  However, being still fairly new to the "crocheting world" I have been focusing my crocheting efforts on smaller projects.  Baby clothes are the perfect small little projects - you learn how to crochet hats, sweaters, dresses, and accessories on a smaller scale.

Author, Nicki Trench shares 35 adorable projects for babies and infants in her book, Cute and Easy Crocheted Baby Clothes.  Though, basic crochet knowledge would be really helpful for reading these patterns - it is not necessary.  Nicki dedicates an entire chapter to techniques.  She starts with simple things like making a slip knot, holding your hook, and then adds details for all the chains that are used in the book.


The crochet tutorials are available in four easy chapters: Chapter 1: Sweaters and Cardigans, Chapter 2: Stepping Out (hats and booties), Chapter 3: Jackets, shawls, and dresses, and Chapter 4: Toys, accessories, and room decorations.

While scanning through the book I was immediately draw to Chapter 4: Toys, accessories, and room decorations.  I absolutely adore the Happy Stars Crib Garland, as well as, Billy the Bear.


I also adore that many of her sweater and hat tutorials have extra little crochet details.  I especially went gaga over the crocheted flowers.  I am also looking for ways to add little extras to sewing crafts and hair bows.


On my immediate to-do list is the baby booties.  I have yet to crochet booties and they look like the perfect starter project.


Disclaimer: I purchased the book Cute and Easy Crocheted Baby Clothes it was not given to me to review.  My review is my honest thoughts and opinions.

 By clicking the link below you are helping Sewing and Crafting with Sarah continue to provide free content and tutorials. 

November 26, 2012

Baby Sweater Crochet Short-Sleeved

I have had so much fun crocheting!  It was not until just a couple of weeks ago that I learned how to read crochet patterns.  Luckily, the Internet is full of free resources for DIY'ers like me!  I had so much luck at crochet.about.com I would like to pay-it-forward by sharing some pattern links!  I started first by following a simple pattern for making a infant beanie hat.  After the hat, I decided to work on a simple short-sleeved baby crochet sweater.  I used, again, a free pattern from crochet.about.com.   I followed the sweater pattern and was thrilled that I was able to crochet the baby short-sleeved sweater in one try.  (One try! - completely over-the-top thrilled!!)


-->

November 20, 2012

Infant Beanie & Wide-Brimmed Crochet Hats

During the fall and winter I enjoy making simple crochet throw blankets.  The blankets are very simple to make and keep me occupied (and warm), while my husband is watching hours of football, on Sundays.  However, I have decided to expand my knowledge of crocheting and try to figure out crochet patterns - with all their crazy two and three letter notations.


Crochet patterns in the past, have always looked too scary to me, to even attempt.  I thought I would start with a simple crochet baby beanie hat as my first project.  I used About.com and their pattern for my first project.   I really enjoyed the pattern because the author provided a key with links so that I could figure out each stitch style. 

I made the beanie hat four times before I got it right!  The first two hats were absolutely awful and the other two there was just minor imperfections but I had put so much effort into this pattern, I wanted it to be right.   Luckily, the project was very easy to take apart and I just kept reusing the same yarn.   The final hat took me less than hour to make and it was so easy and "simple" once I got the hang of reading the pattern.


Once, I figured out the pattern I decided to just make a few changes.  I so surprised that just a few little tweaks and the hat could look entirely different.  For my original beanie hat I used Light #3 Worsted Yarn for a wide-brimmed hat I used both Medium and Light worsted yarn.  I changed the color pattern, medium worsted yarn at the top, light worsted yarn at the bottom, finished with a little yellow ribbon.  


If you are a beginner crocheter and are nervous about following a pattern, I highly recommend starting with something easy like a beanie hat.  Also, Crochet About.com was a wonderful resource for crochet instructions and a free pattern!


-->

Email Updates Daily by Feedburner

Enter your email address:

Delivered by FeedBurner