
Materials Needed:
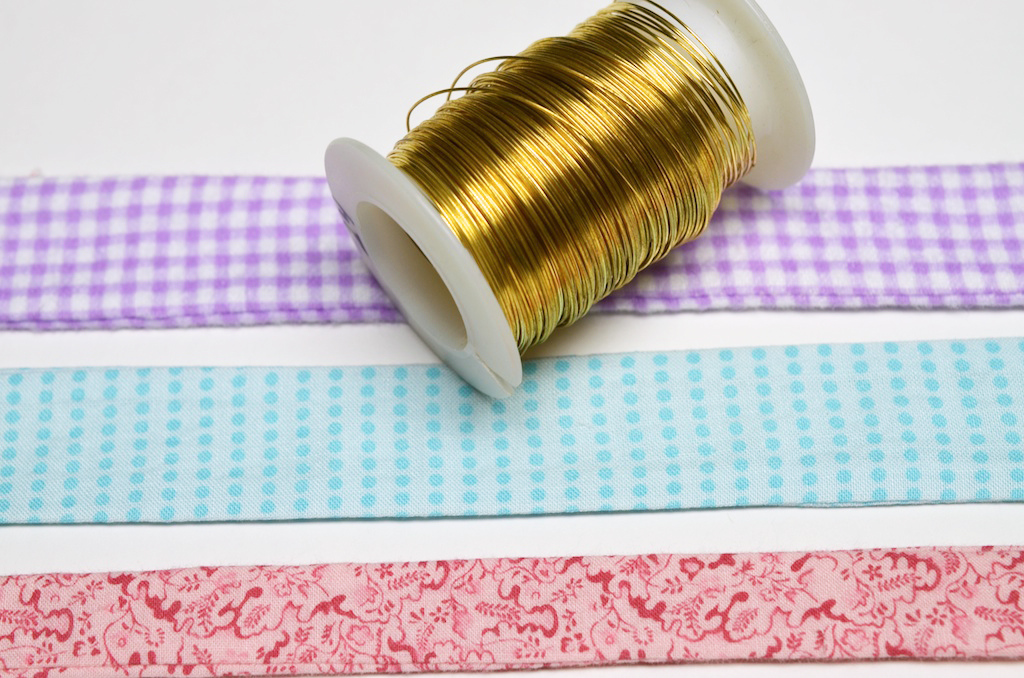
Strips of Assorted Fabric
24 Gauge Wire
Wire Cutters
Scissors
Sewing Machine
Matching Thread
Pins
Instructions:
1. Begin by cutting strips of fabric. I cut my fabric 22" long and varied the width from 1" to 1.5" wide.

2. Sew each strip of fabric together (right sides facing each other) leaving the ends open. Turn the fabric right side out. Next, cut 2 matching 24 gauge wires 2" longer than you will need.
3. Bend the end of the wire so that it doesn't snag on the fabric. Place the wire through the fabric.

4. Place the wire along the edge of the fabric. Sew a hem to keep the wire in place. Go slowly, you could possibly break your sewing needle if you sew on the wire.

5. Add wire to the other side of the fabric. Sew a hem on the other side. Then trim away excess wire and fold the fabric ends. Hem the ends, as well.

6. Follow the instructions to make several wired fabric ribbons.

-->
Oh wow these are FUN! Thank you for sharing them with us in our Crafty Showcase.
ReplyDeleteNew linky: http://bowdabrablog.com/2013/03/23/crafty-showcase-link-up-anything-fun-in-the-craft-project-linky-6/
Have a super week! Susie @Bowdabra